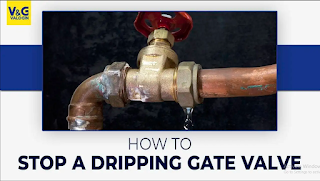
How to Stop a Dripping Gate Valve
Gate valves are essential components in plumbing systems, commonly used to control the flow of liquids. However, over time, these valves can develop issues such as dripping, which not only wastes water but can also lead to potential damage. In this guide, we’ll walk you through the steps to effectively stop a dripping gate valve, ensuring the optimal functionality of your plumbing system.
Understanding Gate Valves and Drips
Gate valves are commonly used to regulate the flow of liquids by using a gate or wedge that moves up and down within the valve body. When a gate valve starts to drip, it’s usually due to a faulty valve washer that fails to create a proper seal, allowing water to escape even when the valve is fully closed.
Tools and Materials You’ll Need
Before you begin, gather the necessary tools and materials:
- Adjustable wrench
- Screwdrivers (flathead and Phillips)
- Pliers
- Replacement valve washer
- Pipe thread sealant
- Rag or towel
- Bucket
Safety Precautions Before You Begin
Always prioritize safety:
- Turn off the water supply: Locate the main water valve and shut it off to prevent water flow during the repair.
- Relieve pressure: Open faucets connected to the plumbing line to release any remaining water pressure.
Gather Your Tools and Materials
Ensure you have all the required tools and materials within reach. This will save time during the repair process.
Turn Off the Water Supply
Locate the main water valve and turn it off completely. This prevents water from flowing while you work on the valve.
Release Residual Pressure
Open a few faucets connected to the plumbing line to release any pressure left in the pipes.
Remove the Valve Handle
Use an adjustable wrench to loosen and remove the valve handle. This will give you access to the valve bonnet.


Comments
Post a Comment